
















How to Run C in Visual Studio Code
In this guide you will find every step needed to run C programs in Visual Studio Code.

In this guide you will find all the steps needed to run C programs in Visual Studio Code.
Step 1: Download and Install MSYS2
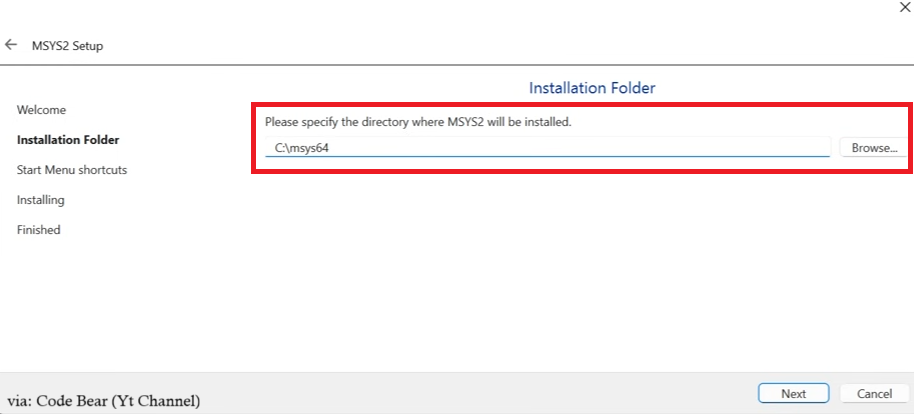
MSYS2 provides a Linux/Unix-like terminal environment on Windows, and its pacman package manager lets you easily install the MinGW-w64 tools required for languages such as C/C++.
⚠️ Do not change the installation path during setup.
Step 2: Install the Required Tools from the Terminal
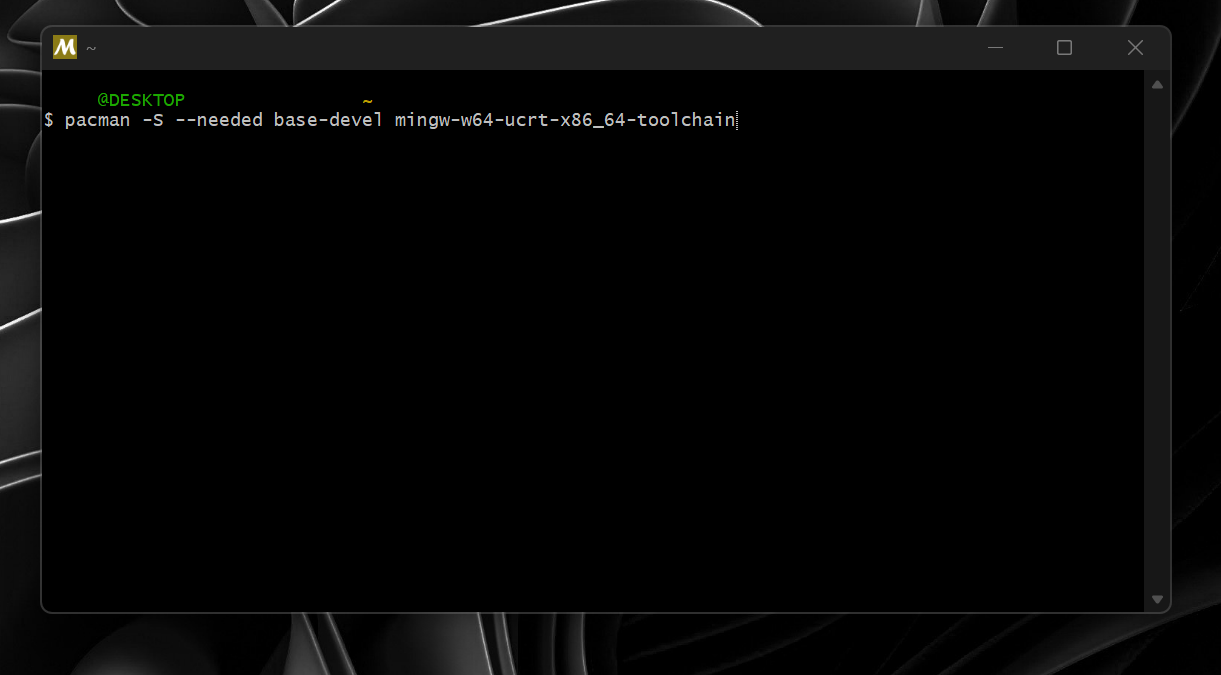
When the installation finishes, an MSYS2 terminal will open.
Paste the following command into this terminal:
(Note: instead of
Ctrl+C / Ctrl+V, paste with right-click → Paste.)
pacman -S --needed base-devel mingw-w64-ucrt-x86_64-toolchainWhat Does This Command Do?
pacman -S→ Downloads and installs packages.--needed→ Skips packages that are already installed.base-devel→ Installs the basic tools for building software.mingw-w64-ucrt-x86_64-toolchain→ Installs GCC (the C compiler) and helper tools.
During the installation, just press Enter to continue with the default settings, then press Y to confirm.
If you get an error, close the terminal and try again.
Step 3: Add the Program Directory to the PATH Variable
We need to find the directory where MSYS2 is installed.
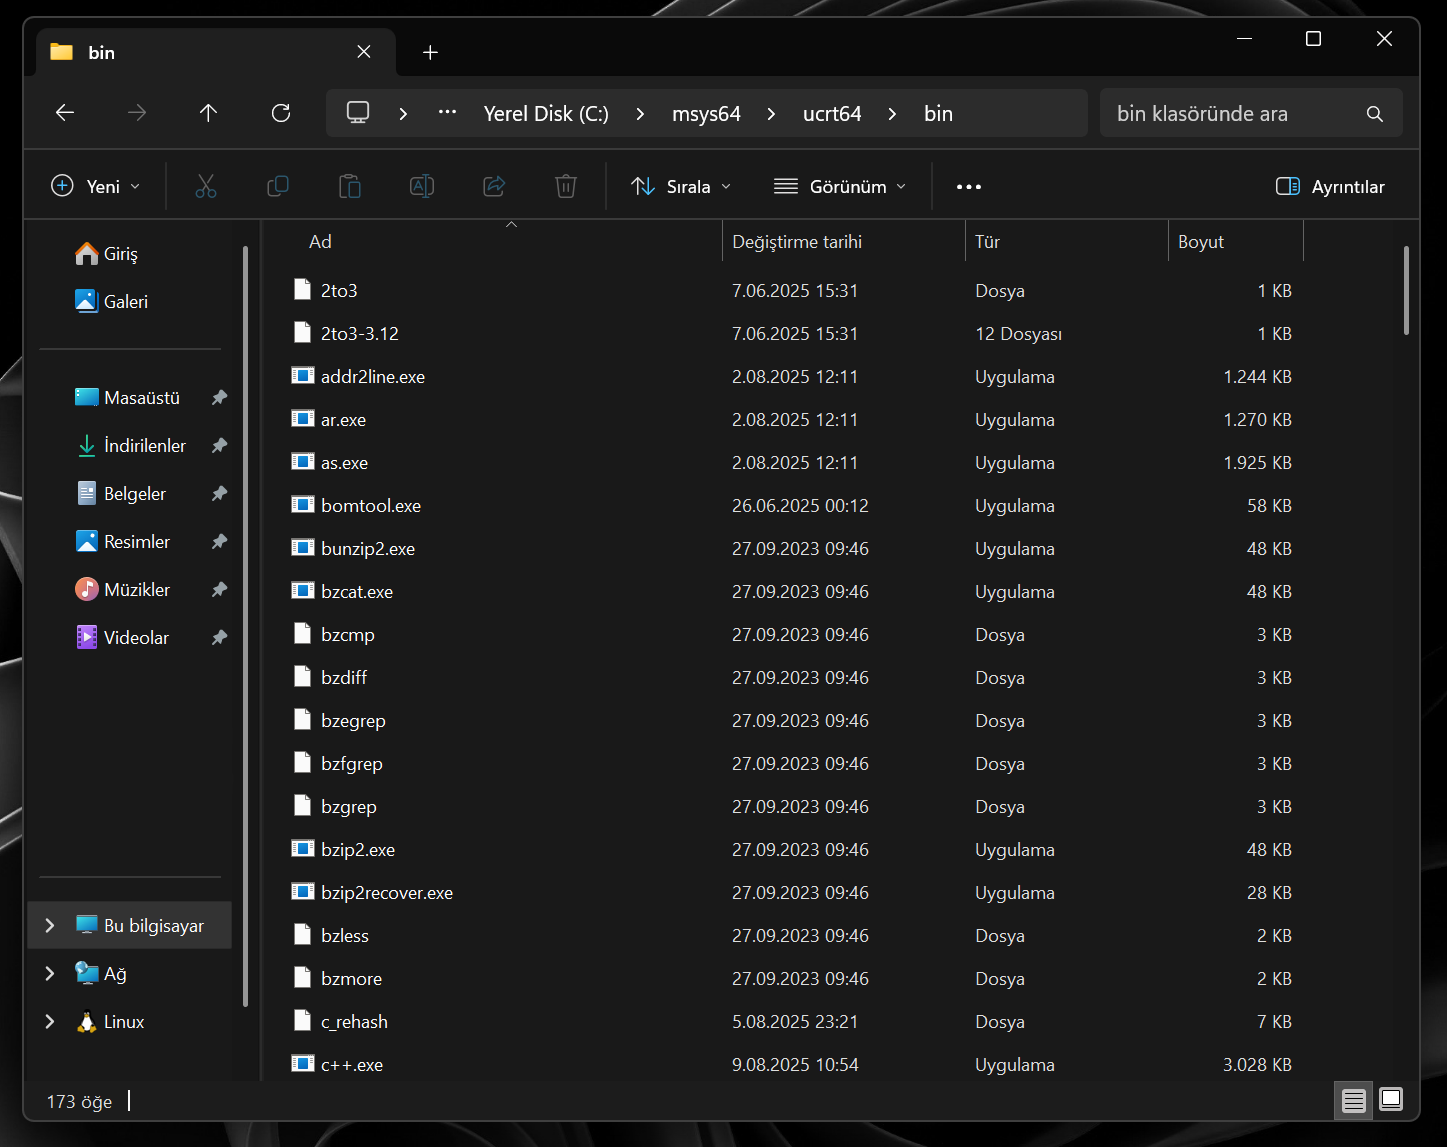
If you did not change the path during installation, it is usually here:
C:\msys64\ucrt64\bin- Go to the
msys64 → ucrt64 → binfolder on theCdrive. - Copy the path from the address bar at the top.
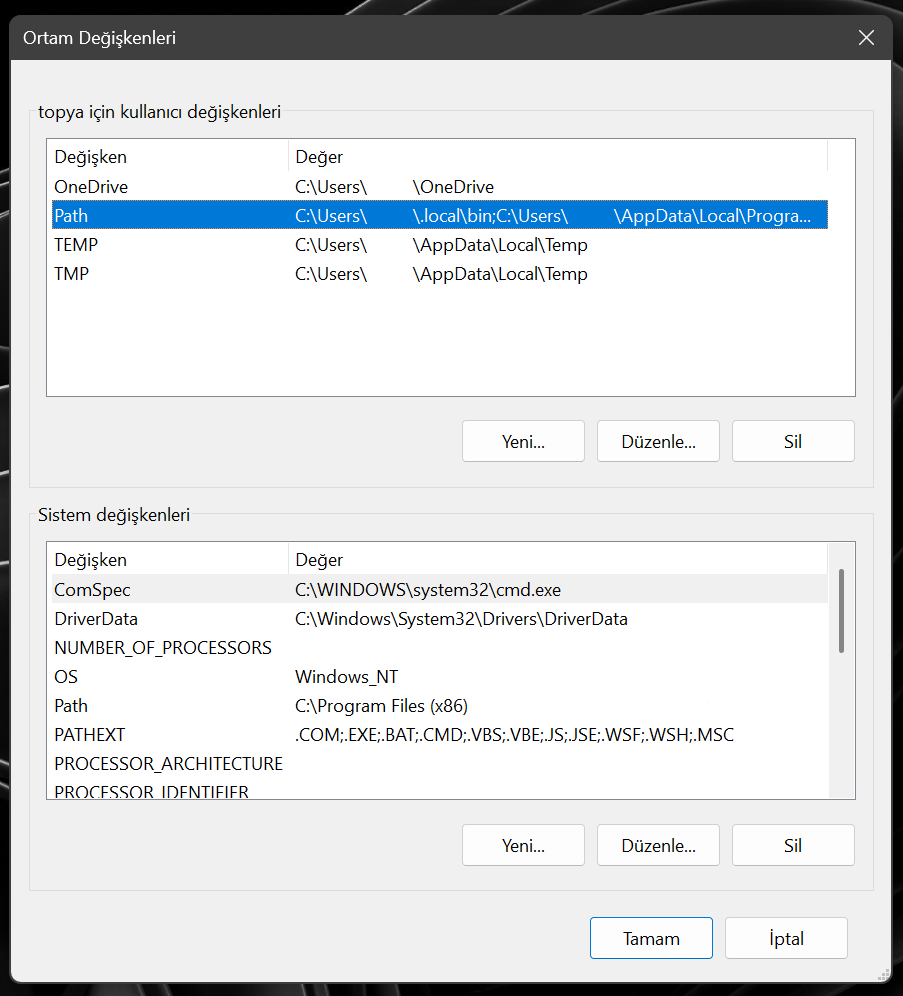
- Open the System Environment Variables settings.
- Open Path → click New.
- Paste the path you copied and click OK to exit.
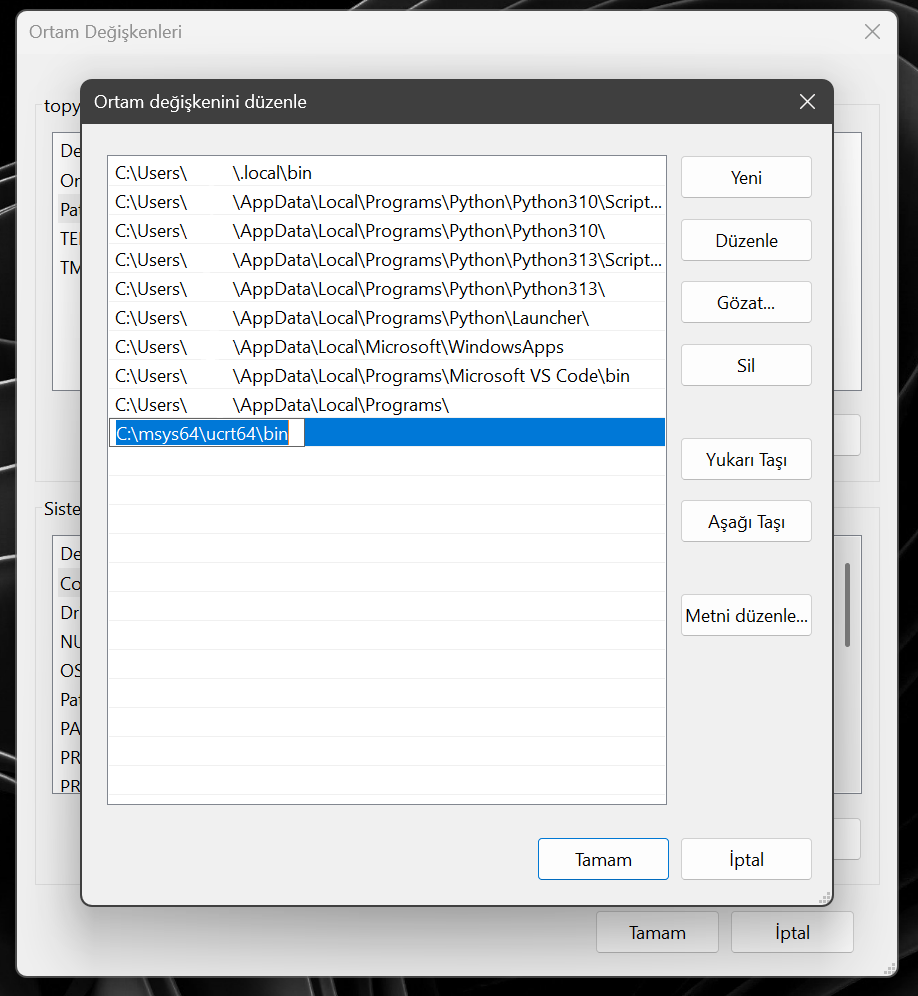
Step 4: Check the Installation
To test whether the installation succeeded, open CMD (Command Prompt) and enter this command:
gcc --versionIf everything is correct, you should see output similar to the following 👇

Step 5: Visual Studio Code Settings
- Open VS Code (if it is already open, close it and restart it).
- From the Extensions tab, install the following:
-
C/C++(Microsoft)- (Optional)
Error Lens→ Shows you typing errors instantly.
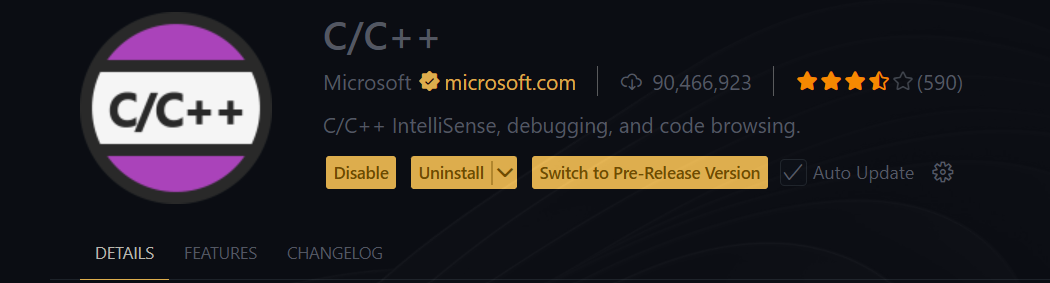

Step 6: Run Your First Code
Now we are ready! Open a new file and write your sample code:
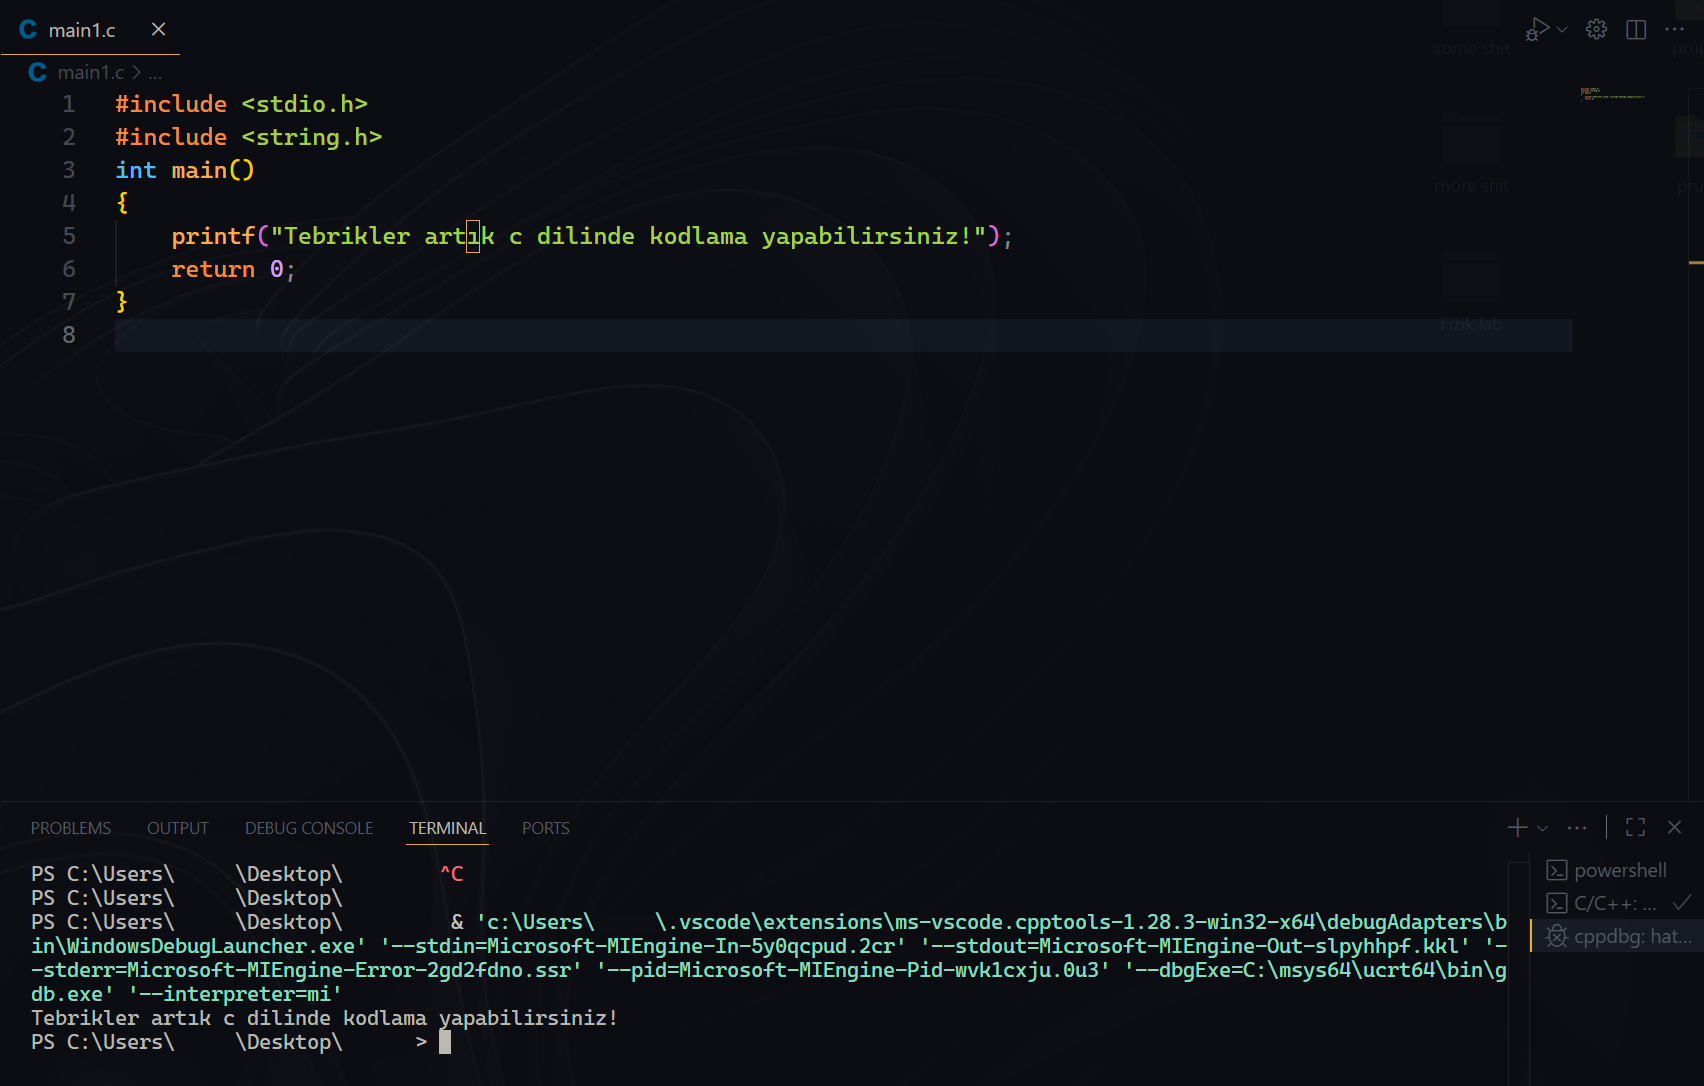
Run it with the run button at the top. To see the program output, use the Run / Debug menu at the bottom of VS Code and go to the Terminal section.
If the terminal screen gets cluttered, you can clear it with the
clearcommand.
Conclusion
Congratulations! You can now write and run C programs in Visual Studio Code. Source: Code Bear https://www.youtube.com/watch?v=1PBD5qFWdq8